3D Printing Guide
Chapter 4: Printing Your Cap
Printer Requirements
Minimum Specifications
- Build volume: 120 x 120 x 30mm
- Nozzle temperature: 260°C capability
- Bed temperature: 80°C heated bed
- Layer resolution: 0.2mm or finer
Recommended Features
- Enclosed chamber (helps with PCTG)
- All-metal hotend
- Automatic bed leveling
- Part cooling fan control
Slicer Settings
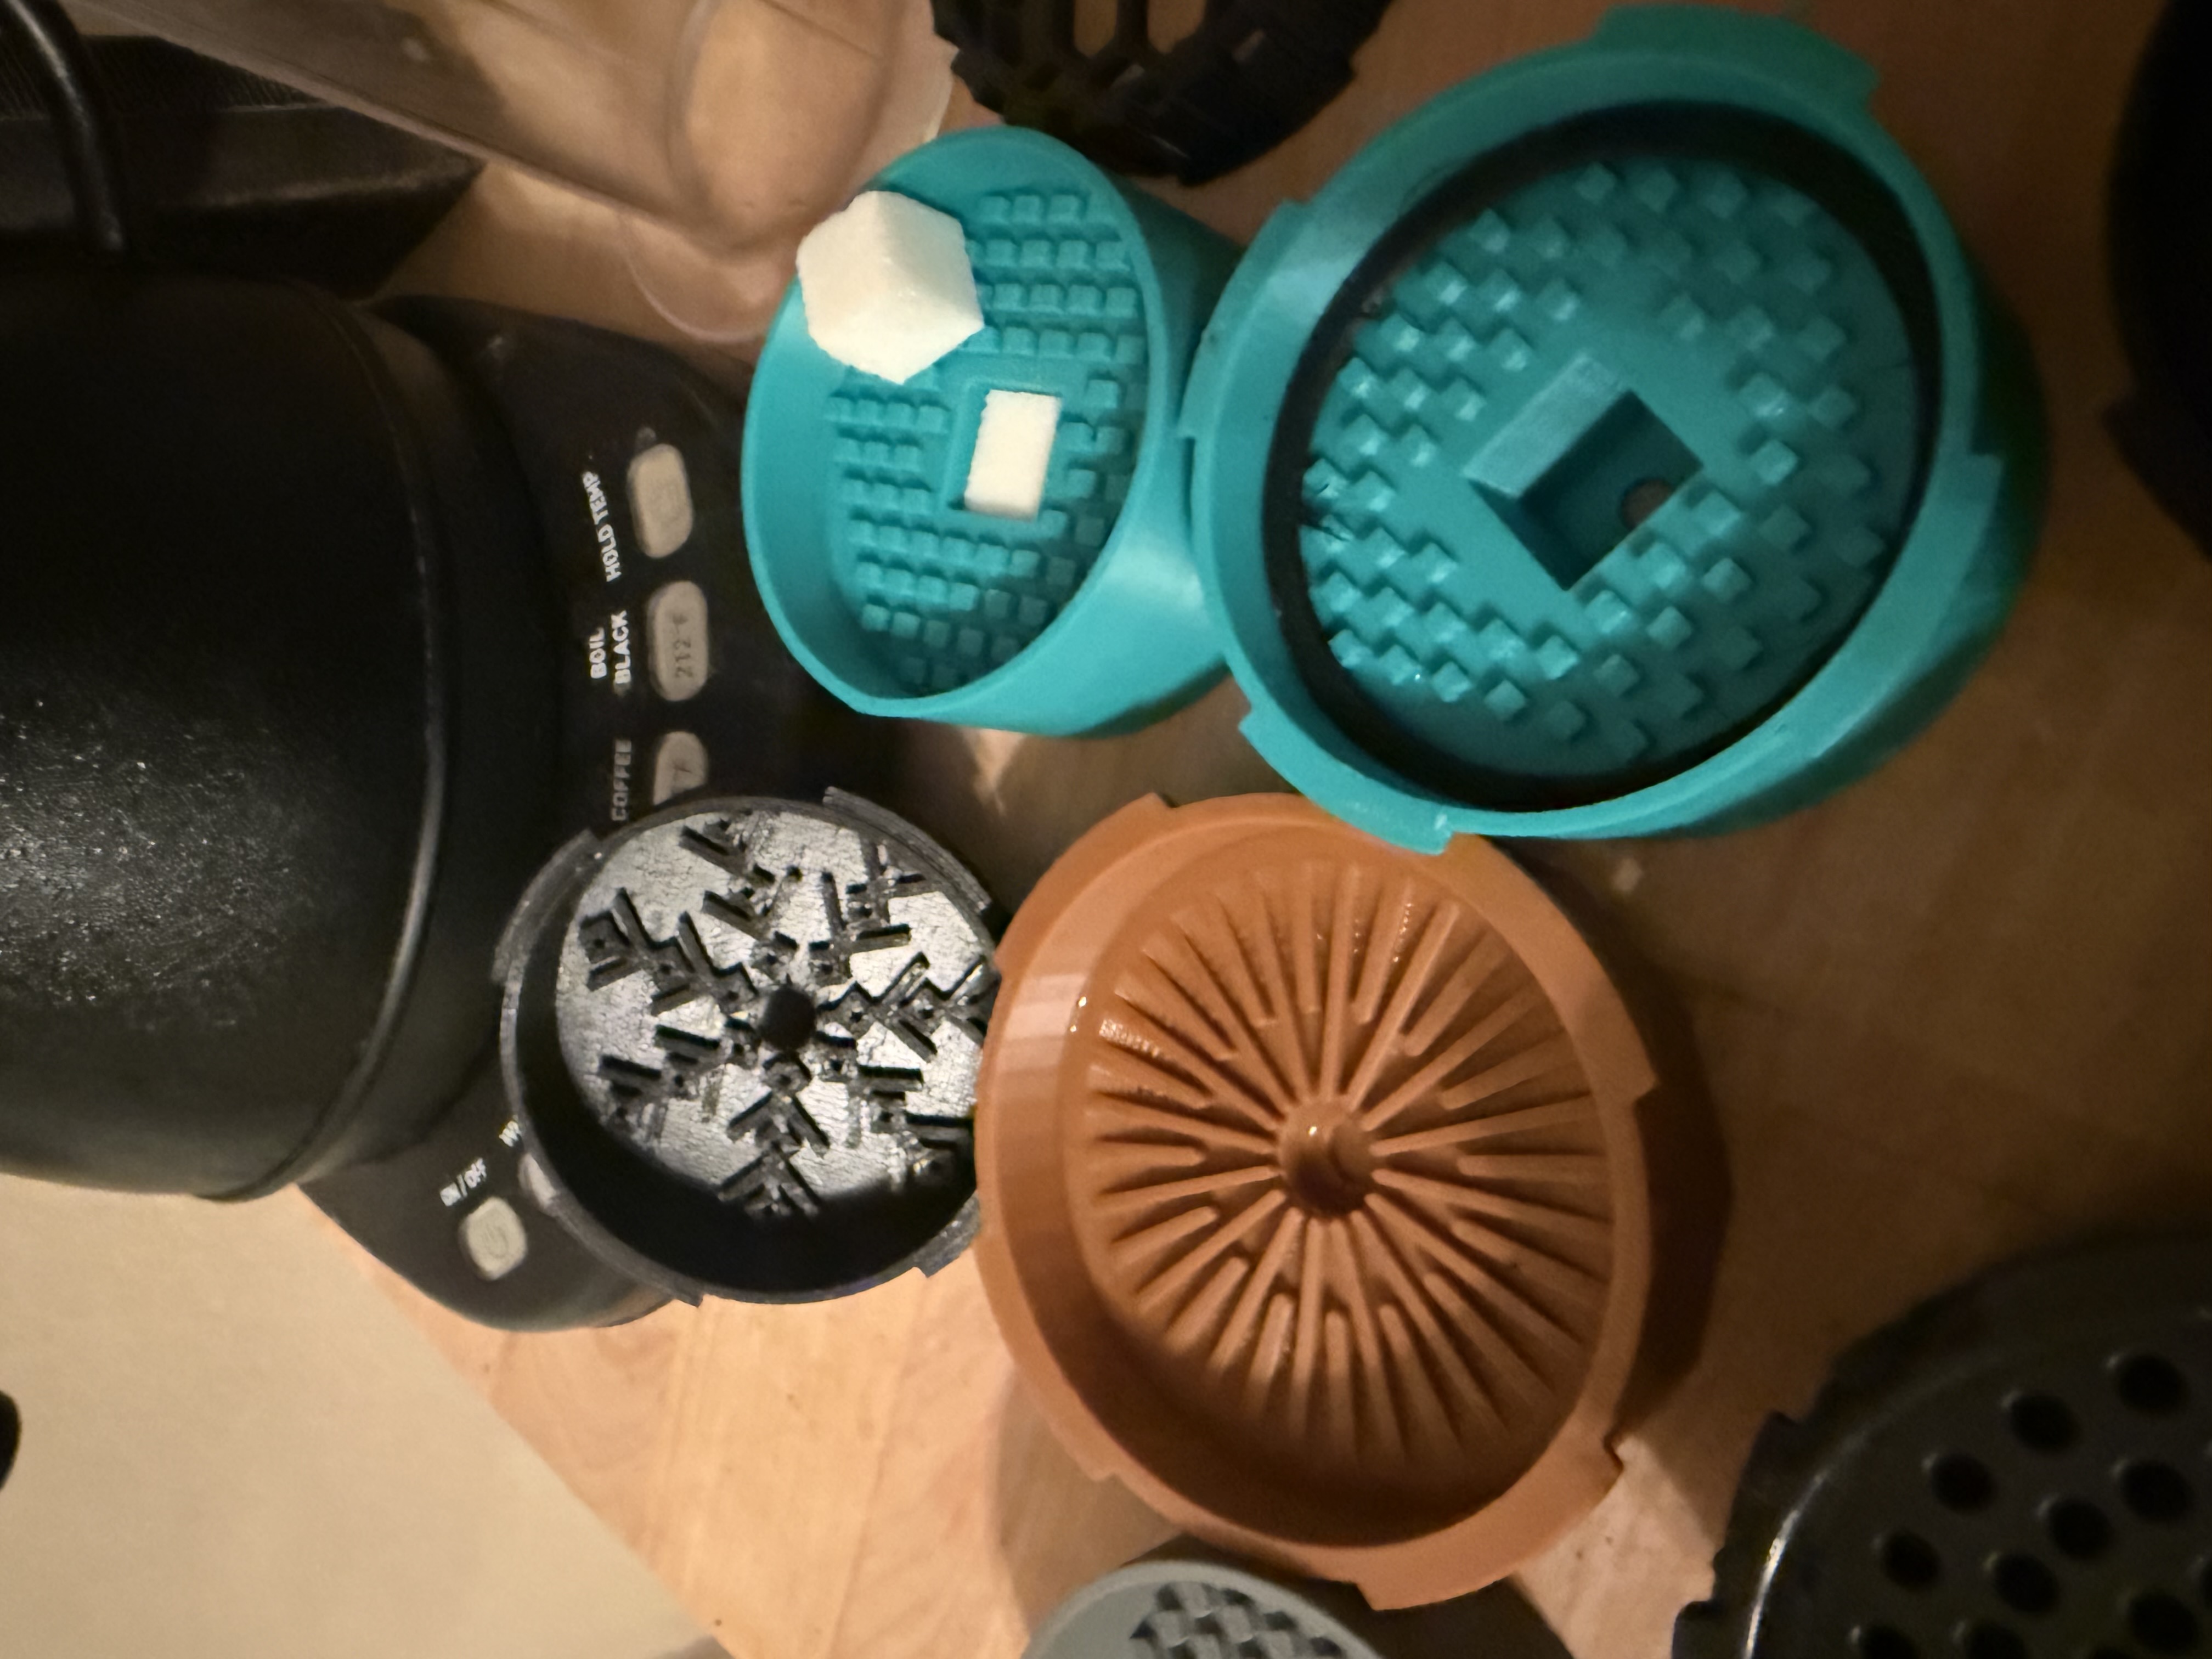
PCTG Main Body (NoDrip XL Cap)
Layer height: 0.2mm
First layer: 0.3mm
Perimeters: 3
Top layers: 4
Bottom layers: 4
Infill: 15% gyroid (more recommended)
Print speed: 40mm/s
Temperature: 255°C
Bed temperature: 80°C
Retraction: 3mm @ 35mm/s
Ironing: All top surfaces
Supports: Suggested for locking tab overhang
TPE Disc Gasket (Optional)
Layer height: 0.2mm
Perimeters: 3
Infill: 95%
Print speed: 20mm/s
Temperature: 230°C
Bed temperature: 50°C
Retraction: Disabled
Note: Print separately as a disc
Critical Print Considerations
Bed Adhesion
- Clean glass bed with isopropyl alcohol
- PEI sheet provides excellent adhesion
- Glue stick as backup for stubborn prints
- No brim needed if bed is properly prepared
First Layer
- Watch the first layer completely
- Should be slightly squished but not transparent
- Uniform width across entire perimeter
- No gaps between lines
Support Material
- Locking tab overhang may need supports with droopy PCTG
- Use tree supports for minimal contact
- Remove carefully to preserve tab integrity
- Rest of design prints support-free
Multi-Material Printing
Option 1: Separate Prints
- Print PCTG body first
- Print TPE gasket separately
- Press-fit assembly
Option 2: Multi-Material
- Use MMU or tool changer
- Print both materials in one go
- Requires careful purge settings
Quality Checks During Printing
Layer Adhesion
- No visible gaps between layers
- Walls appear solid and uniform
- No stringing between features
Dimensional Accuracy
- Measure critical dimensions:
- Outer diameter: 67.5mm ±0.1mm
- Inner diameter: 63.0mm ±0.1mm
- Height: 12.0mm ±0.1mm
Common Issues and Solutions
Warping
Problem: Corners lifting from bed Solution: - Increase bed temperature to 80°C - Add enclosure or draft shield - Check for drafts in room
Poor Layer Adhesion
Problem: Layers separating Solution: - Increase nozzle temperature 5°C - Reduce print speed to 35mm/s - Check for partial clogs
Stringing
Problem: Fine strings between features Solution: - Increase retraction to 4mm - Lower temperature 5°C - Increase travel speed
Elephant’s Foot
Problem: First layer bulges out Solution: - Reduce first layer flow to 95% - Raise nozzle 0.05mm - Reduce bed temperature 5°C
Post-Processing
Required Steps
- Remove from bed carefully when cool
- Inspect all surfaces for defects
- Test fit with AeroPress XL
- Clean thoroughly before use
Optional Improvements
- Light sanding of contact surfaces
- Compressed air to clear holes
- Acetone wipe for fingerprints (PCTG safe)
Print Time Estimates
- PCTG body: ~90 minutes
- TPE gasket: ~25 minutes
- Total time: ~2 hours
Troubleshooting Guide
Print Fails at Holes
- Reduce speed to 30mm/s for small features
- Ensure part cooling fan at 100%
- Consider 0.15mm layers for detail
TPE Won’t Stick
- Clean bed extra thoroughly
- Use hairspray or TPU adhesive
- Increase first layer temperature 10°C
Dimensions Off
- Calibrate E-steps
- Check filament diameter
- Adjust horizontal expansion
Success Tips
- Dry filament is crucial for PCTG
- Take your time with bed leveling
- Print a test piece before full cap
- Keep notes on successful settings
Next chapter: Time to brew some coffee!